You are using an outdated browser. For a faster, safer browsing experience, upgrade for free today.

Cosmostreamer DIYOBSBOT Tail

Hardware

Raspberry Pi 3B/B+ and Raspberry Pi 4B may be used only for Wi-Fi connection to OBSBOT Tail

Raspberry Pi 4B
  • Two micro-HDMI outs
  • Analog video out (CVBS, TV-out) in 3.5 mini-jack
  • Wi-Fi 2.4/5 GHz
  • Ethernet 10/100/1000 Mbit/s
  • 2 USB 2.0 ports + 2 USB 3.0 ports
  • 1 USB-C port
  • Telemetry OSD on HDMI over video is NOT available.

It's good for clean video HDMI output, for local/internet streaming, for controlling OBSBOT Tail camera from USB joysticks/gamepads or from keyboard/mouse in client application.
It's not good for OBSBOT Tail remote control for operator with HDMI monitoring, because HDMI shows only clean video, no recording state, no image values.

Official site

Raspberry Pi 3B/B+
  • Full-size HDMI out
  • Analog video out (CVBS, TV-out) in 3.5 mini-jack
  • Wi-Fi 2.4/5 GHz (2.4 only on RPI 3B, 2.4/5 on RPI3B+)
  • Ethernet 10/100 Mbit/s
  • 4 USB 2.0 ports
  • 1 micro-USB port for power
  • Telemetry OSD on HDMI over video is available.

It's good for video HDMI output with or without OSD telemetry overlay, for local/internet streaming, for controlling OBSBOT Tail camera from USB joysticks/gamepads or from keyboard/mouse in client application.

Official site

Installing the firmware

  • Step 1
    Get a blank microSD card of 8GB or larger. Insert the microSD card into the card reader
  • Step 2
    Download ZIP-archive with firmware content
  • Step 3
    Extract .img file from downloaded ZIP archive
  • Step 4
    Use Win32DiskImager on Windows or Balena Etcher on Mac and write .img file on microSD card
  • Step 5
    Insert the microSD card into the Raspberry Pi
  • Step 6
    If you have a monitor or a TV with HDMI input - plug it to the Raspberry Pi HDMI port. For Raspberry Pi 4B use HDMI0 port (nearest to USB-C port)
  • Step 7
    Plug a standard USB power supply or powerbank to the Raspberry Pi. Pi must start booting. A couple of reboots may be during the first boot process
  • Step 8
    When a booting is finished you will see a QR image on HDMI display

Raspberry Pi power

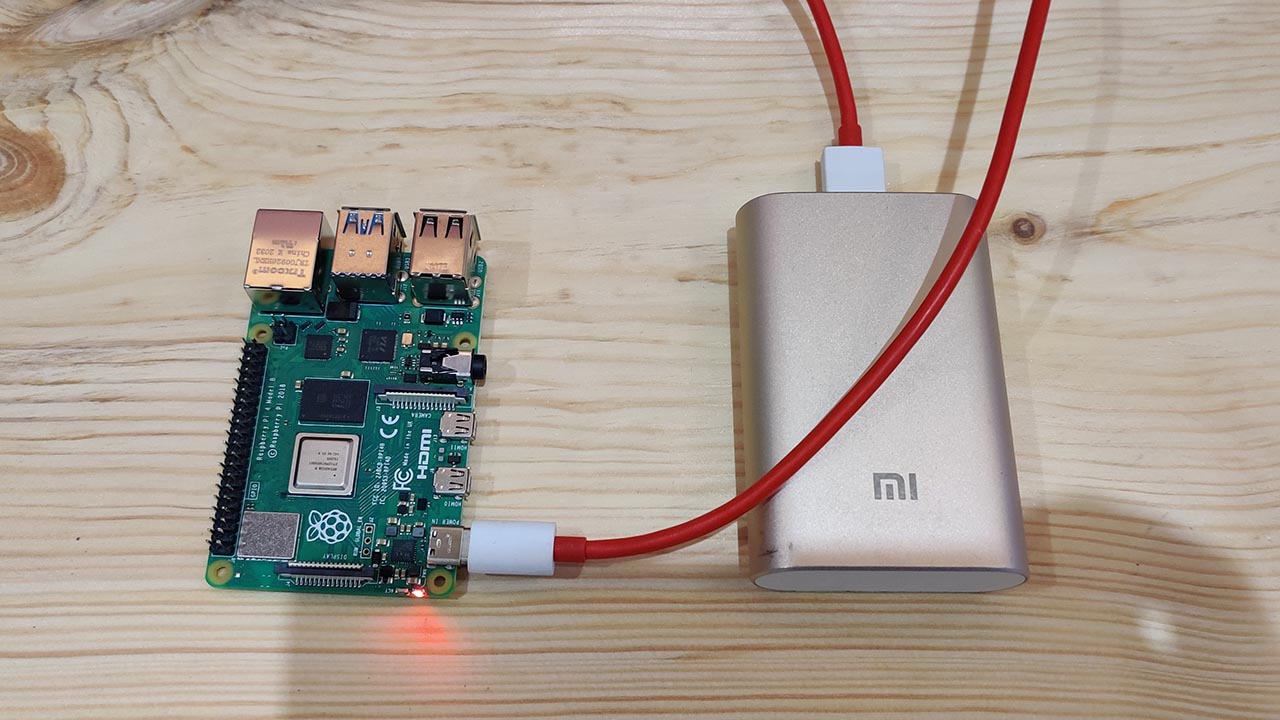
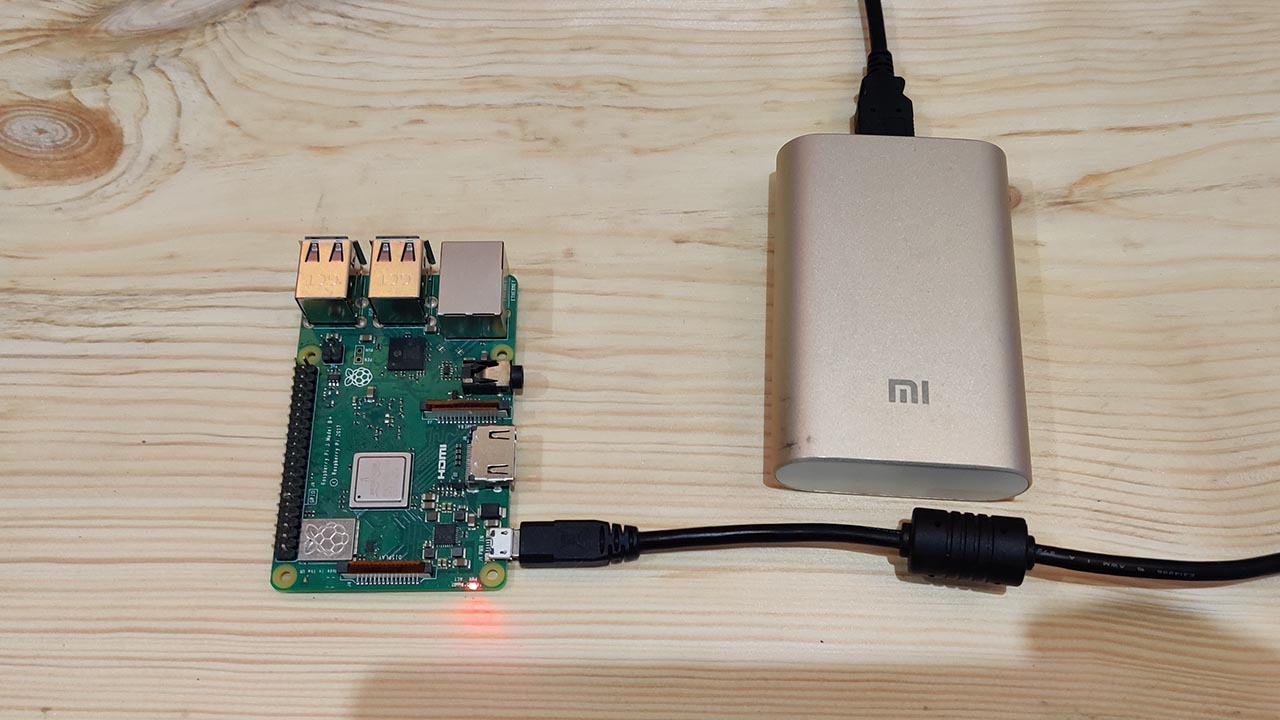
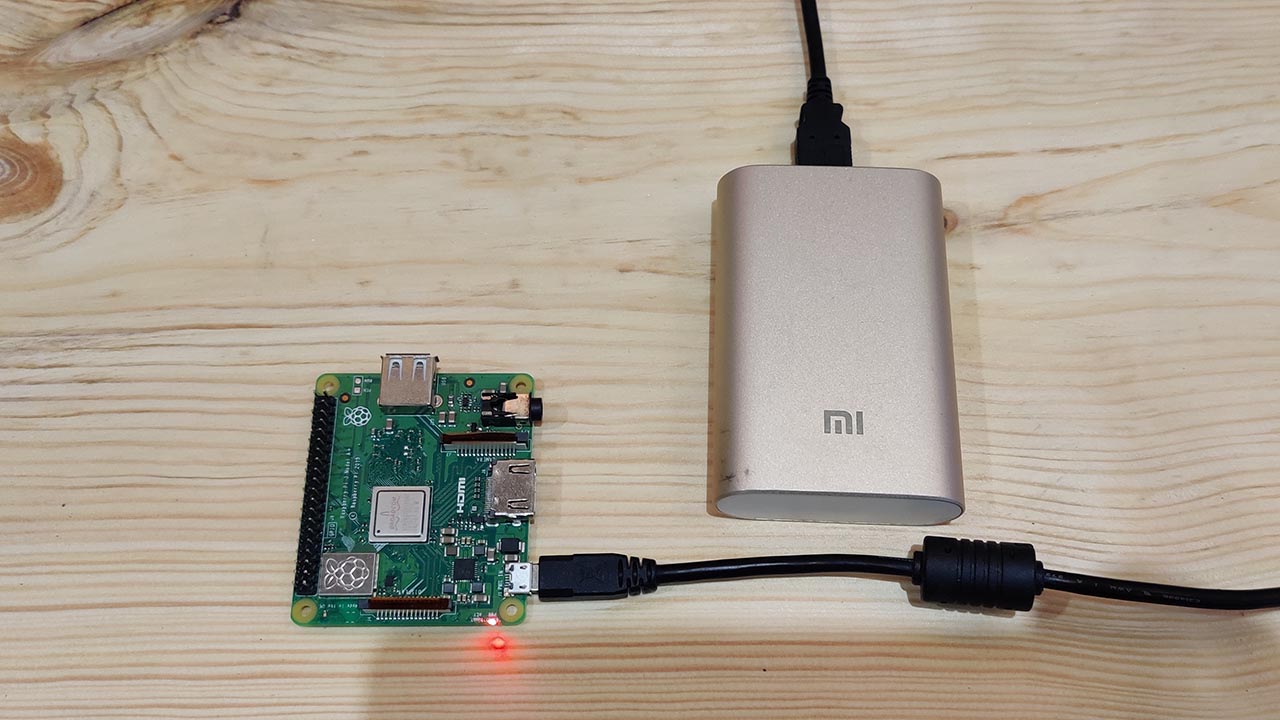
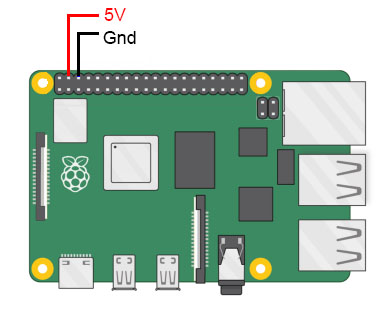
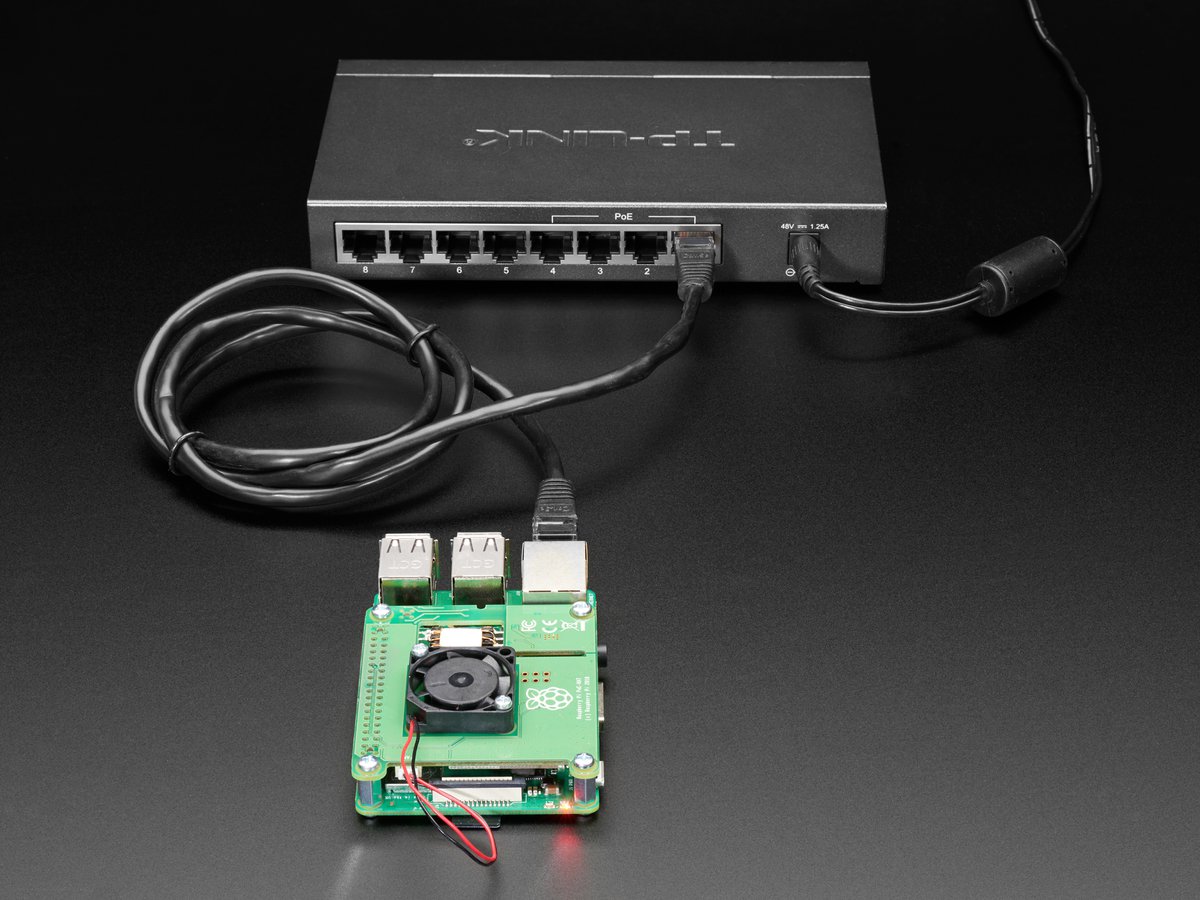
All Raspberry Pi models has an own power scheme. Raspberry Pi may be powered from standard power input - micro-USB or USB-C port (RPI4B only), from GPIO, from PoE.

RPI4B only: when USB-C is busy for camera connection - need to power RPI from GPIO or with PoE.


Network connection

  • Step 1
    • For Ethernet connection from PC to Raspberry Pi
      Only for Raspberry Pi versions with Ethernet port. Connect Ethernet cable to the Raspberry Pi Ethernet port at one side and home router or PC/Mac Ethernet port on another side
    • For Wi-Fi connection from PC to Raspberry Pi
      Connect your PC/Mac to Wi-Fi network cosmostreamer, password 1234512345
  • Step 2
    Download, install and run CosmoViewerNG application. For Windows, for Mac
  • Step 3
    The Cosmostreamer device should be detected and displayed in the CosmoViewerNG device list.
  • Step 4
    Also you could open Cosmostreamer web admin page in browser

Firmware update

When i fixing a bugs or adding some new functions - i publish a firmware update file. It's a small archive with software. Not needed to install a full microSD image, need just to install update file in web interface or in CosmoViewerNG application.


  • Step 1
    Run CosmoViewerNG for Win or for Mac (or web admin page) and open device settings, chapter "System"
  • Step 2
    Download the Latest firmware update file
  • Step 3
    Choose downloaded update file (with .csuf extension) in "Firmware update" field and press "Upload file" button.
  • Step 4
    Raspberry Pi must goes to reboot automatically after update installed

Changing camera type

  • Step 1
    Open device settings in CosmoViewerNG application or in web interface, chapter "Info". Choose camera type "OBSBOT Tail". Don't forget to click "Save" button.

License key

License key is a text string, unique for each device. Each camera type needs different license keys. It's possible to install multiple amount of license keys on one device and use this device for some camera types, i.e. Pocket Osmo, Pocket 2, and others. Additional licenses price is much lower.

  • Step 1
    Buy license key on a product page
  • Step 2
    Make a photo of HDMI display or screenshot of the app with a QR image and send it to me for making a license key
  • Step 3
    When you got a license key - use web interface or CosmoViewerNG application, menu "device settings" -> "License" and insert license key into field. And click "Install license" button.

Camera connection

Cosmostreamer may be connected to OBSBOT Tail only using a Wi-Fi.

RC receiver connection

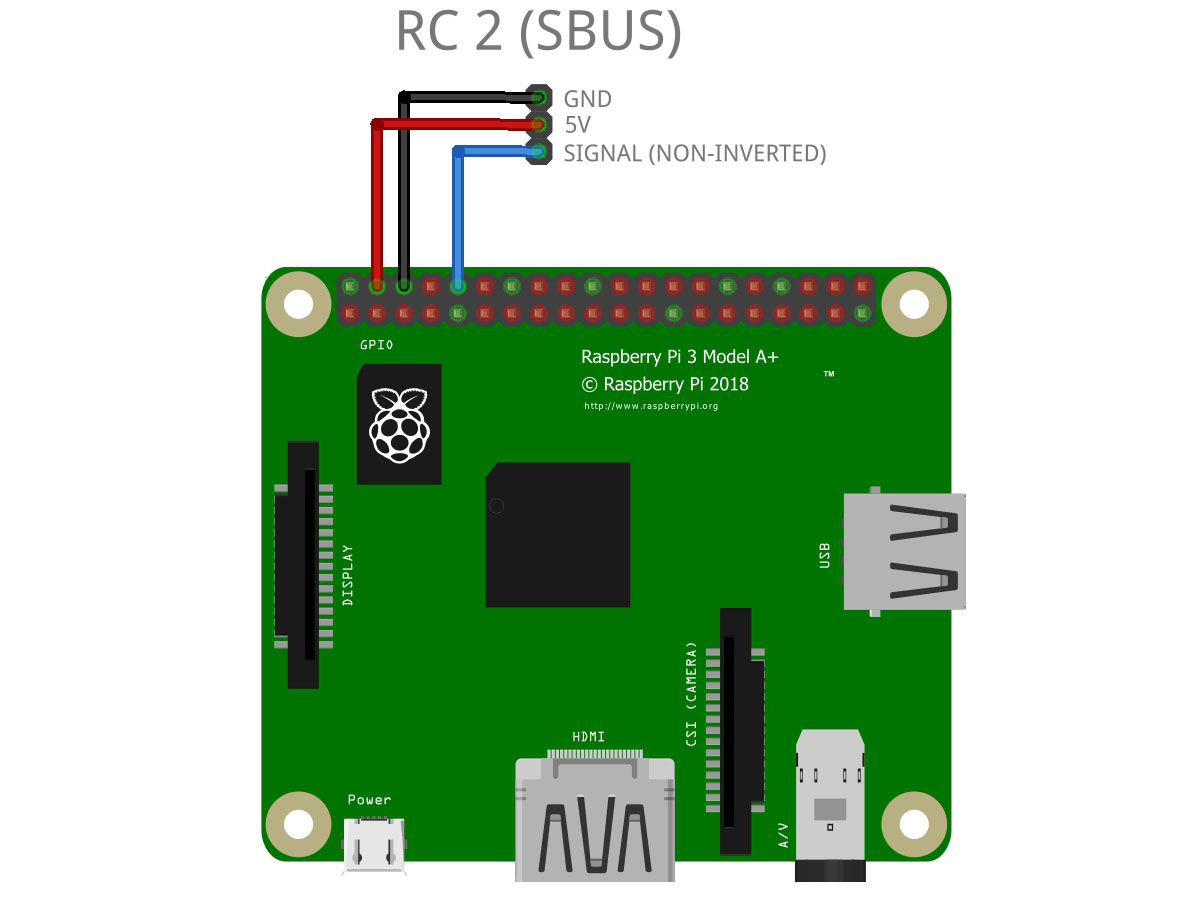
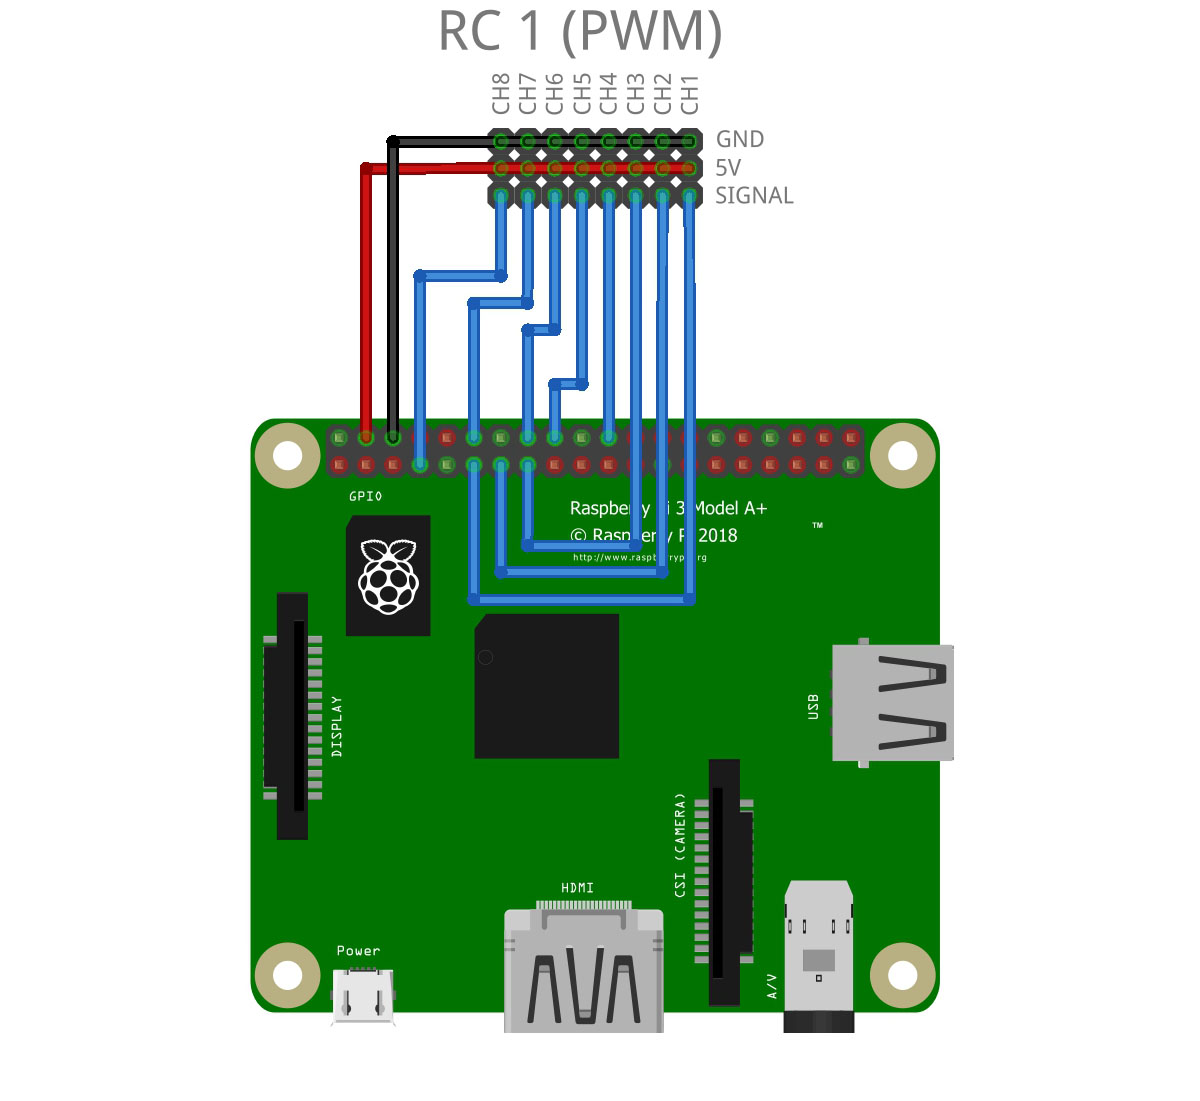
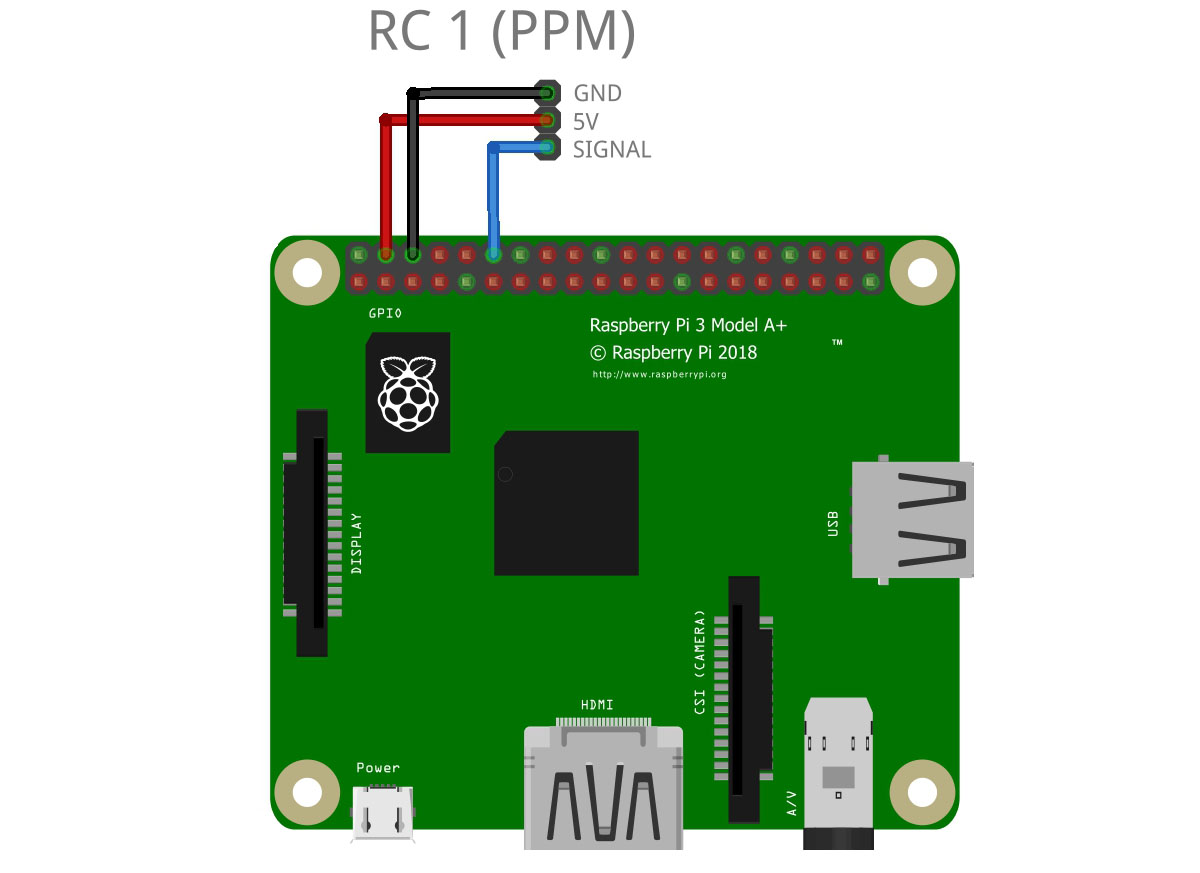
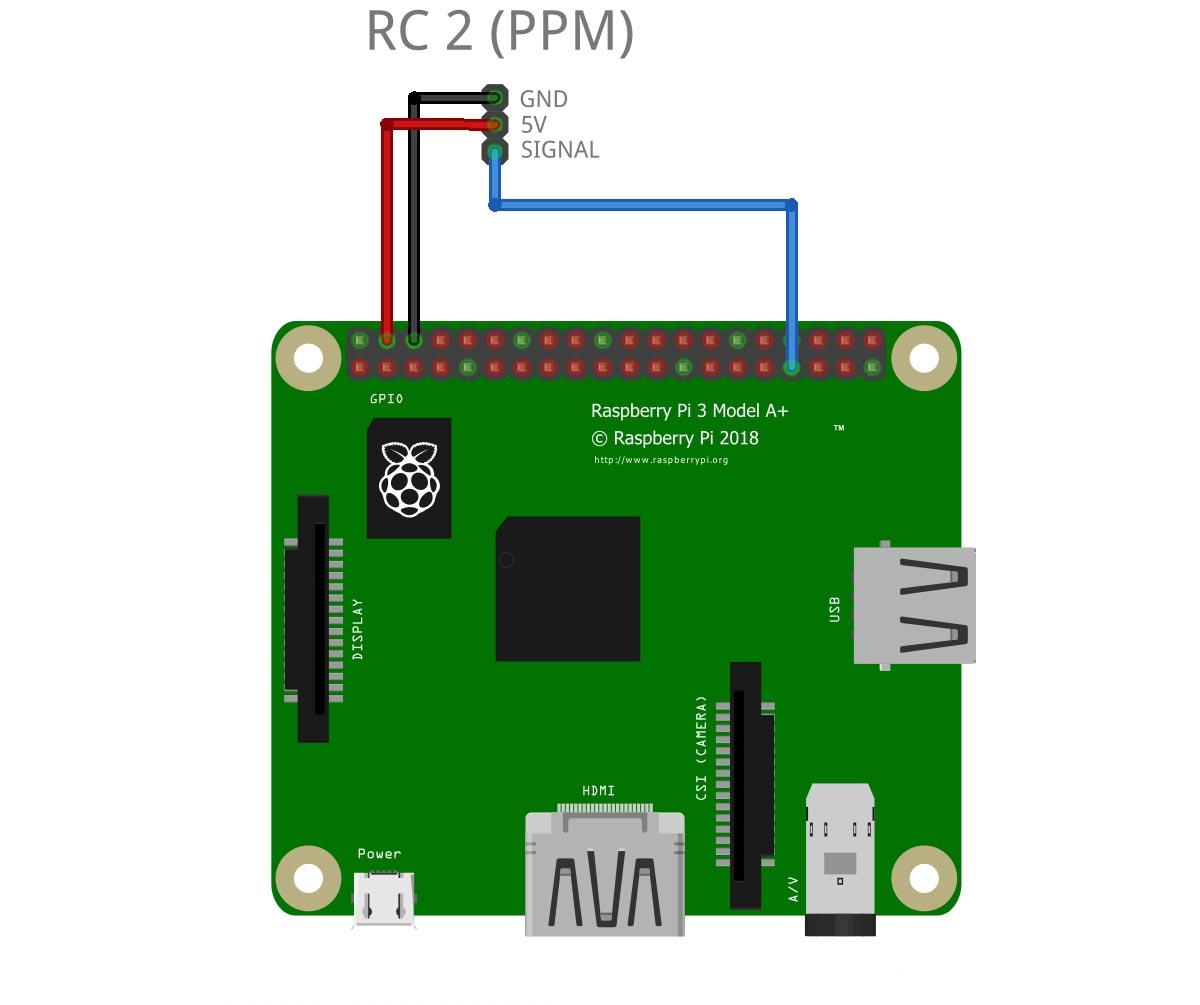
One or two RC receivers can be connected at the same time. RC1 can be PWM or PPM. RC2 can be PPM or Sbus. RC mode (PWM, PPM, SBus) can be selected in web-admin page or in CosmoViewerNG application

Applications

CosmoViewerNG is a main control application for Cosmostreamer.


FAQ

Q: Can I just unplug the power cable from the box??
A: Yes, the file system on the microSD is in read-only mode, so you can unplug the power cable without any problem

Contacts

If you have any questions about the Cosmostreamer, fill your name, e-mail and your message using the form below. We are always glad to help you!

Check your spam folder on your mail server, the answer may be there.